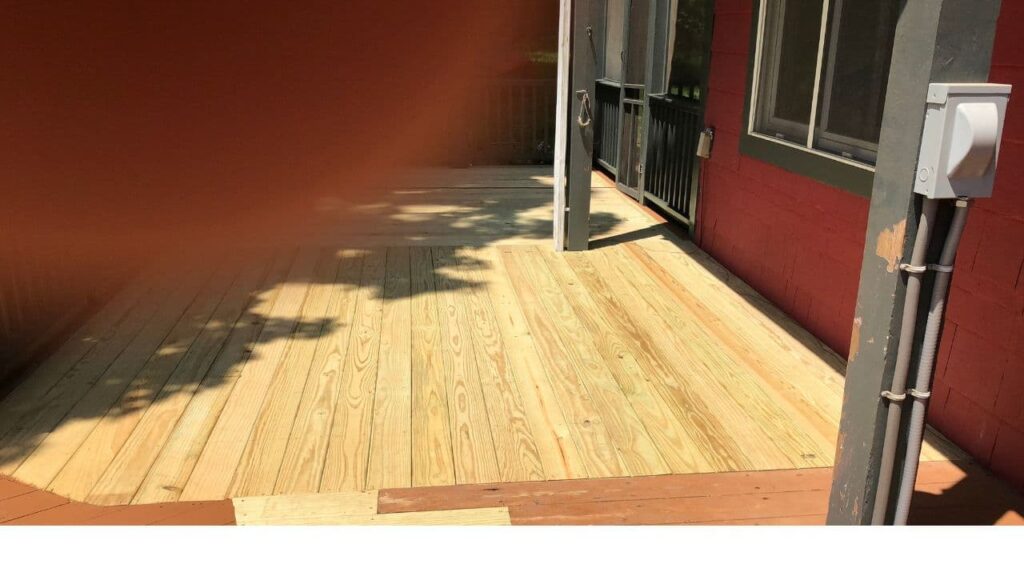
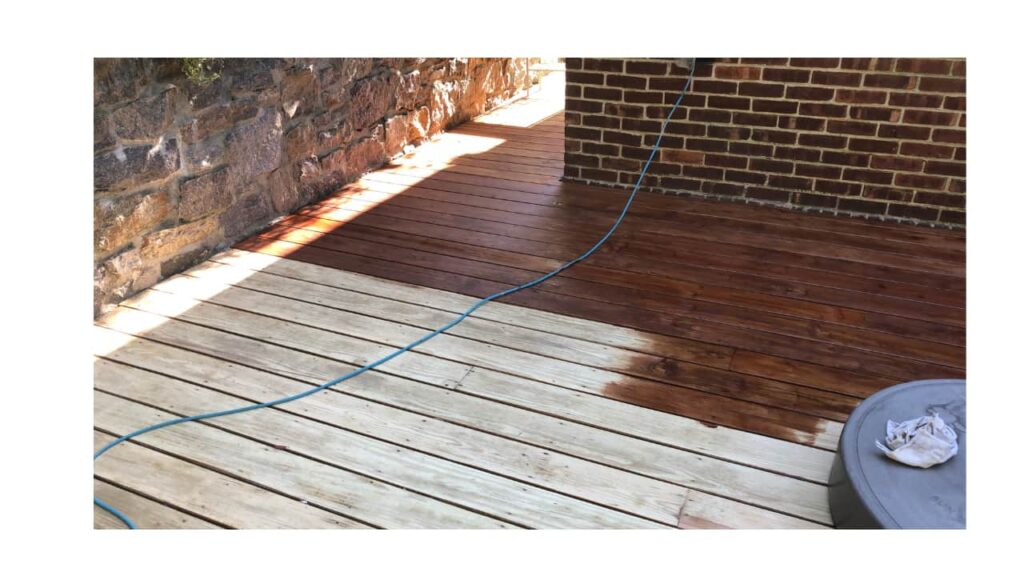
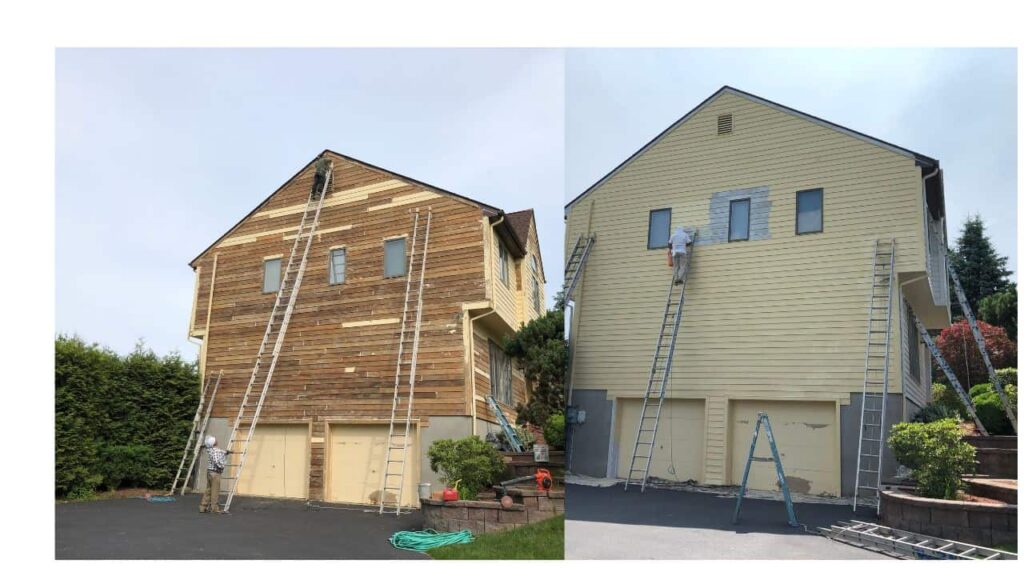
Preparing the exterior of your house—including the deck, porch, and other surfaces—for power washing and painting with a solid stain—requires a methodical approach. Here’s a step-by-step guide
🔧 MATERIALS & TOOLS NEEDED:
- Pressure washer
- Scrub brushes (deck brush, handheld stiff bristle brush)
- Exterior wood cleaner or deck cleaner (oxygenated bleach-based preferred)
- Painter’s tape & plastic sheeting
- Drop cloths or tarps
- Safety gear (gloves, goggles, mask)
- Sandpaper or power sander
- Caulking gun & exterior caulk
- Putty or wood filler (for repairs)
- Ladder or scaffolding (if needed)
✅ STEP 1: Clear and Protect the Area
- Remove furniture, plants, grills, doormats, etc.
- Cover nearby windows, doors, plants, and light fixtures with plastic sheeting or drop cloths.
- Mask off areas you don’t want to stain (walls, edges, hardware) using painter’s tape.
✅ STEP 2: Inspect & Repair Surfaces
- Look for loose boards, nails, rot, mildew, or flaking paint.
- Nail down any loose boards or steps.
- Fill cracks or holes with wood filler suitable for exterior use.
- Caulk gaps around trim, joints, or siding if necessary.
- Allow all repairs to fully cure or dry before moving on.
✅ STEP 3: Clean Thoroughly (Before Power Washing)
- Apply a deck or exterior wood cleaner:
- Use a sprayer or brush.
- Let it sit per manufacturer instructions.
- Scrub with a stiff brush, especially for stained or mildewed areas.
- Rinse well.
✅ STEP 4: Power Wash
- Use a pressure washer with a fan-tip nozzle (25° or 40°).
- Keep nozzle about 12–18 inches away from the surface.
- Move in consistent, sweeping motions to avoid gouging wood.
- Don’t overdo it—pressure that’s too strong can damage wood (around 1,500–2,000 PSI is ideal for wood surfaces).
- Let the surface dry completely—at least 24–48 hours, or longer in humid conditions.
✅ STEP 5: Sand if Needed
- Once dry, lightly sand rough areas or where old stain/paint is peeling. www.mamuelzpaintinghomeimprovementinc.com
- Focus on:
- Deck boards
- Railings
- Steps
- Use 80–120 grit sandpaper.
- Remove all dust afterward (blow off or sweep thoroughly).
✅ STEP 6: Final Prep Before Painting/Staining
- Check for moisture—the wood must be completely dry.
- Use a moisture meter (ideal reading: below 15% for stain).
- Remove any remaining dust, debris, or cobwebs.
- Stir your solid stain thoroughly—don’t shake.
- Use a stain brush, roller, or sprayer to apply.
TIPS:
- Test stain color in a small area before doing the entire surface.
- Work in the shade and avoid hot sun during application.
- Apply solid stain in thin, even coats. Two coats are usually best.
- Maintain a wet edge to avoid lap marks. TESTIMONIALS


